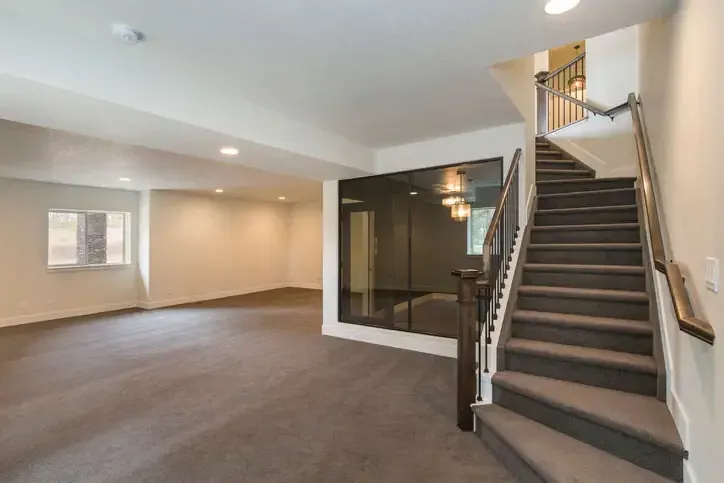
Lowering a basement floor is the definitive answer to a low ceiling. It is also the most expensive one, and there is a sensible order of questions to work through first, because on plenty of Nova Scotia basements there is six to twelve inches available for a fraction of the cost.
Start by measuring properly
Measure from the finished floor to the lowest obstruction, not to the joists. That is what determines whether the space feels usable, and it is usually a duct, a beam, or a drain line rather than the structure itself.
Then measure to the underside of the joists in the clear areas. The gap between those two numbers is your opportunity.
Things to look at before excavating
Ductwork. Trunk lines running below the joists are the single most common obstruction. A qualified HVAC contractor can often re-route a main trunk into the joist bays, or replace a deep rectangular trunk with a shallower, wider profile. This is frequently the cheapest six inches available in the whole house.
Plumbing runs. Drain lines have to maintain fall, so they cannot simply be raised, but they can sometimes be relocated closer to a wall, taking them out of the middle of a room.
Beams and posts. A deep beam can sometimes be replaced with a shallower steel section that carries the same load in less depth. This is engineering work, not a weekend job, but it can recover real height at the point where the ceiling feels lowest.
Ceiling finish. A dropped ceiling costs three to four inches immediately. Painting the exposed joists and services, a properly done black or dark finish makes them recede visually, costs nothing in height and reads as intentional. If you need a finished surface, drywall applied directly to the joists costs half an inch instead of four.
Floor build-up. Ask what the flooring assembly adds. A sleeper subfloor plus finished flooring can consume two inches. A thin insulated subfloor panel system, or a coating applied directly to a properly prepared slab, gives most of that back.
Add those up and it is not unusual to find eight to ten inches without touching the structure.
Then the structural options
If you have exhausted the cheap height and still do not have a legal or comfortable room, you are looking at lowering the floor, either bench footing, which is cheaper but consumes perimeter floor area, or underpinning, which preserves the full plan at greater cost.
Both are engineered, permitted work. Both are done in sequenced sections so the house is never unsupported.
What “legal” actually requires
If the goal is a bedroom or a suite rather than a rec room, ceiling height is only one of the requirements. You will also need proper egress from any bedroom, fire separation if it is a separate unit, interconnected smoke alarms, and adequate light and ventilation.
There is no point gaining eight inches of headroom if the room still cannot be a bedroom for a different reason. Work out the full list before you spend anything.
Deal with the water first
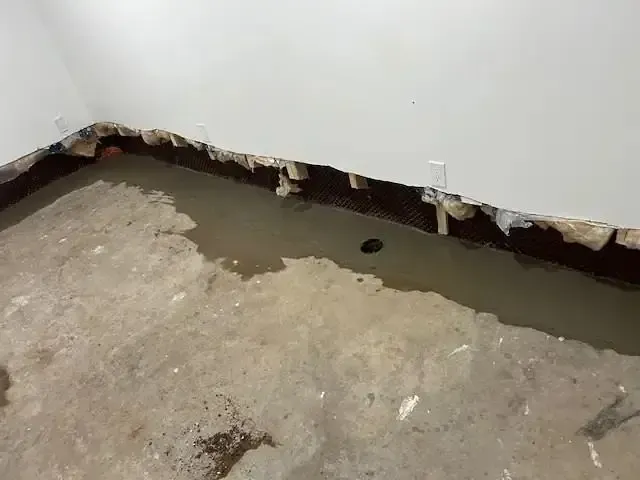
Whatever route you take, the sequence is the same: dry the basement before you finish it.
Framing, insulation and flooring over a basement that still takes water converts a cleanable concrete floor into a mould problem inside a wall cavity, and it means tearing out new work to reach the actual fix.
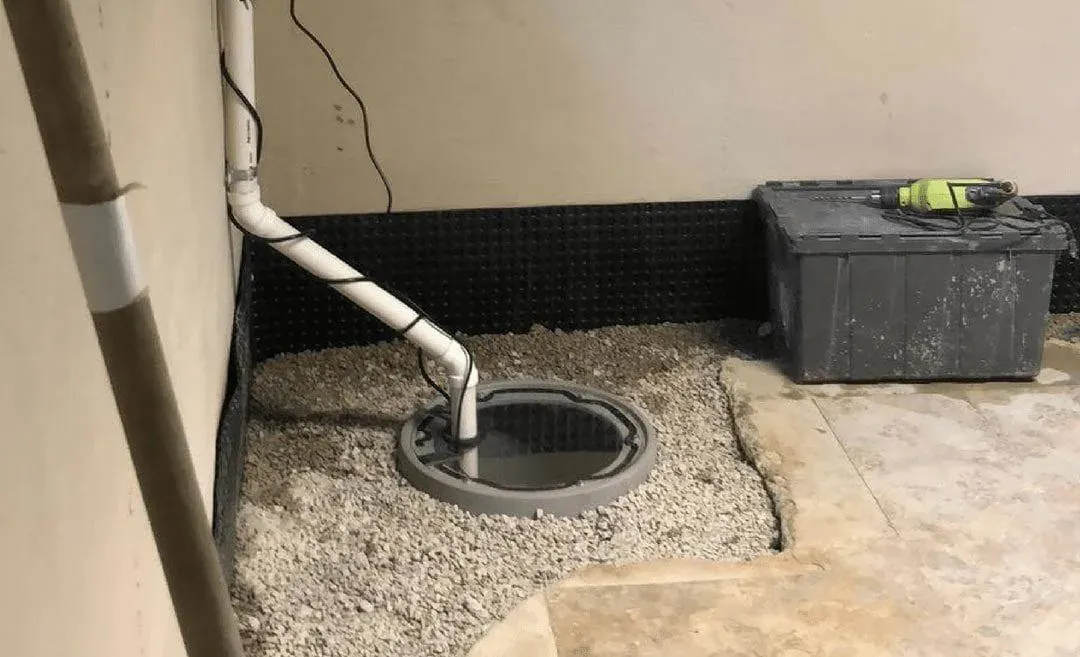
If the floor is coming up anyway for lowering, that is the ideal and cheapest moment to install interior weeping tile, a sub-slab vapour barrier and a sump basin. Doing it later means cutting up a brand-new slab.
Book an assessment and we will walk the space with you and tell you which of these applies.
Written by the crew at Maritime Basement Waterproofing.
More advice →